How To Iron - Skirts
There's will never be an absolutely "right" way to iron but you will get better results if you follow a sensible order.
The advice you may need to iron anything should be within a topic below:
There's will never be an absolutely "right" way to iron but you will get better results if you follow a sensible order.


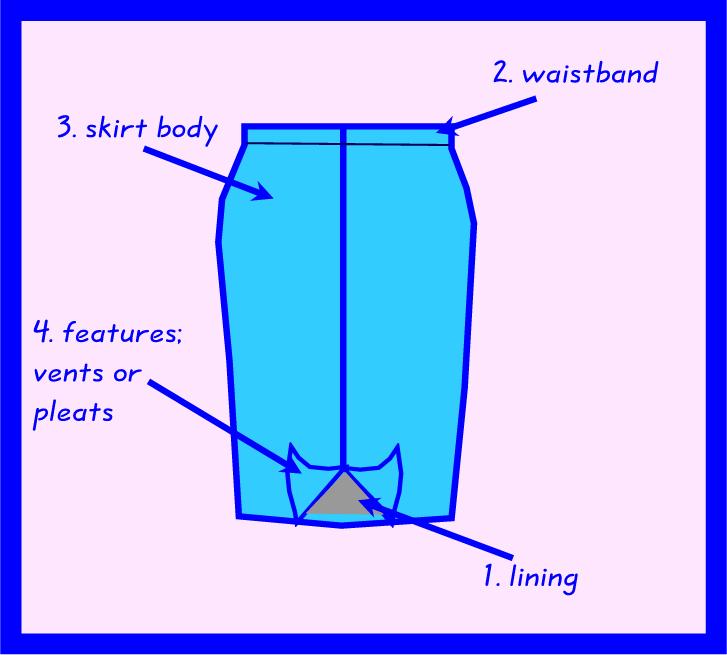
Linings should always be done before the rest of the skirt.
Waistbands are next, going all the way around the skirt.
Skirt bodies should now be done around the board.
Features such as pleats and vents should be done last.
Skirt linings are often made of materials that are thermoplastic, in other words they can melt. So the first thing you need to do is turn down your iron to a low setting, especially as the care label is often only representing what you can do with the main fabric of the garment.
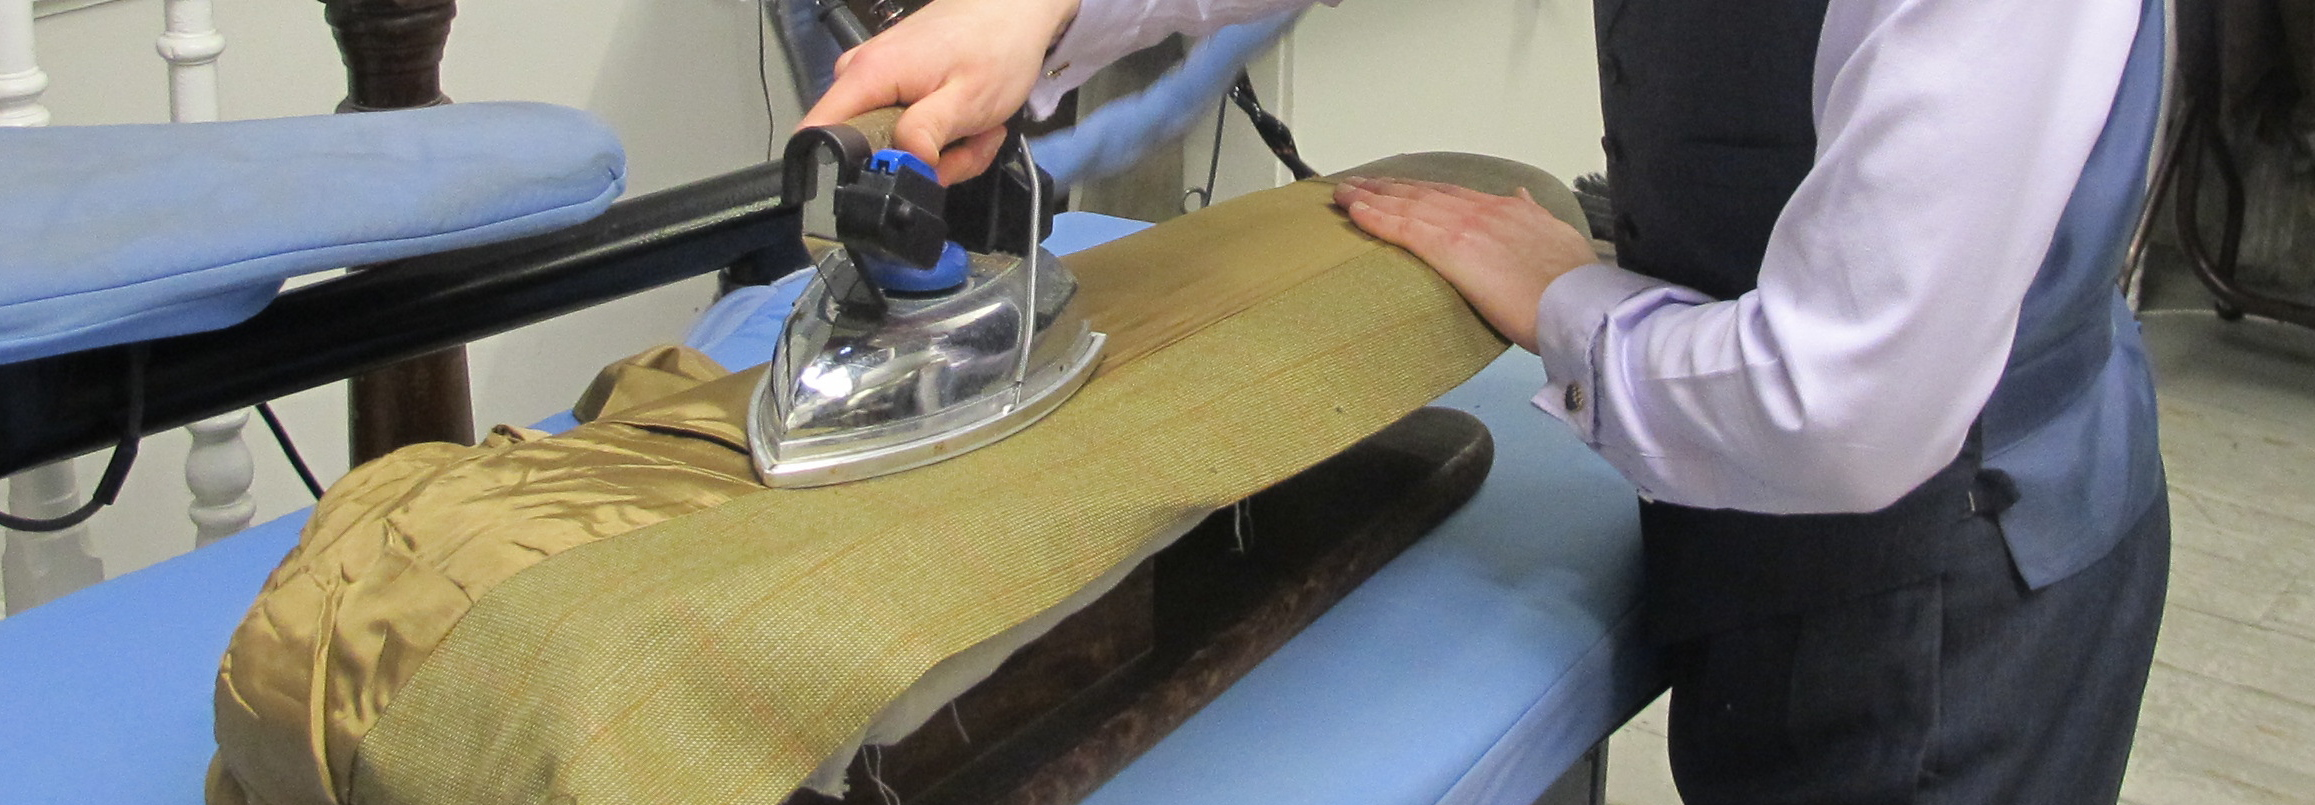
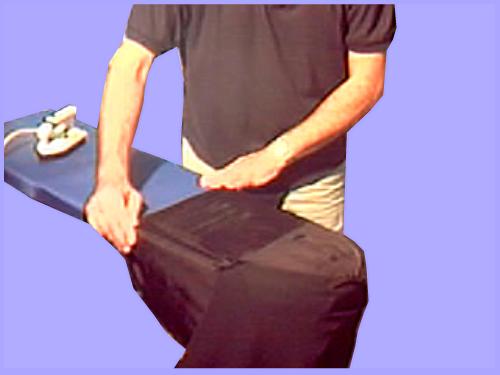
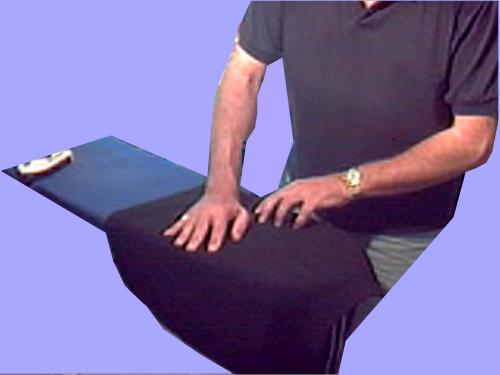
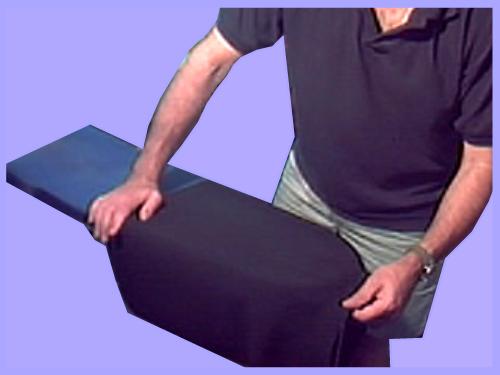
The first item to be done on any skirt is the lining so that if you have to throw the skirt around doing the rest only the lining can get re-creased.
Before you start any garment it is a good idea to look at the problems you might face when ironing. Here we have a skirt in a soft acetate/polyester mix with an acetate lining. The main skirt will shine badly if touched directly with the iron, especially if we go over seams, zips or wrinkles from the underneath. Linings are not normally in the same material as the remainder of the skirt.
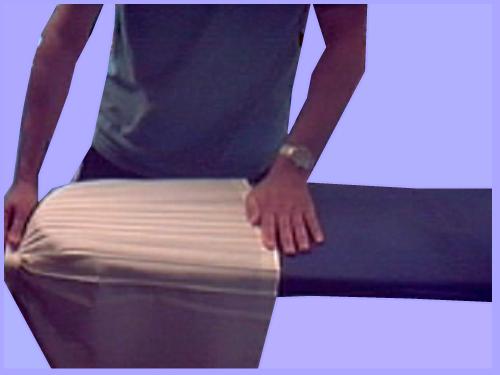
Turn the skirt inside out and place the lining on the ironing board. Hopefully the lining won't be attached to the skirt and you'll be able to do this. Sometimes linings are attached at vents, which means you have to slide board between the lining and the surface. In this case the lining is attached throughout the zip area so note that we have positioned the skirt so that the lining can be done without going over the zip area.
Smooth the lining with both hands and iron straight up and down, covering the whole surface.
Move the lining around the board and continue to smooth then iron until you go all the way round. It's a good idea to start at a point that you'll recognise when you get back to it, otherwise may go round the skirt more than once, which shouldn't be necessary.
Skirts are fairly simple in their structure. So long as you remember not to put the iron on the material until you have the fabric flat and also to position the skirt on the board to take into account its shape there should be no problems.
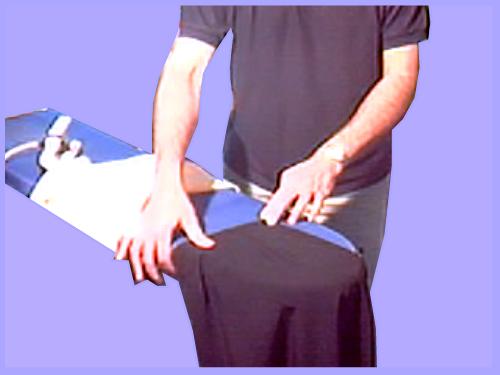
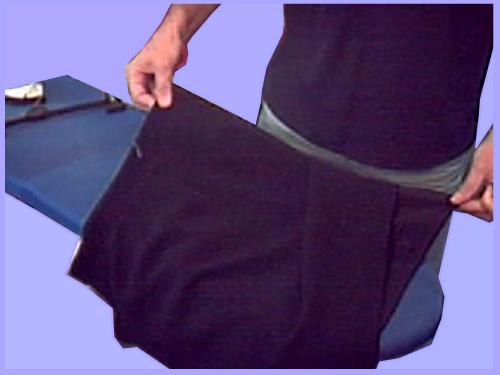
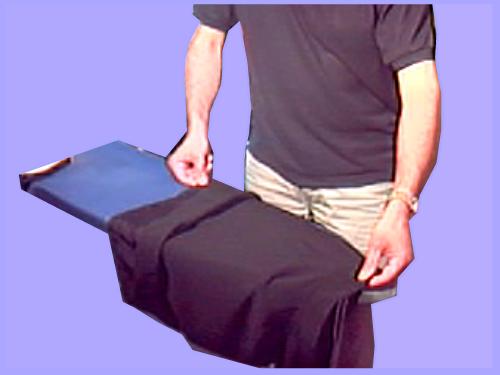
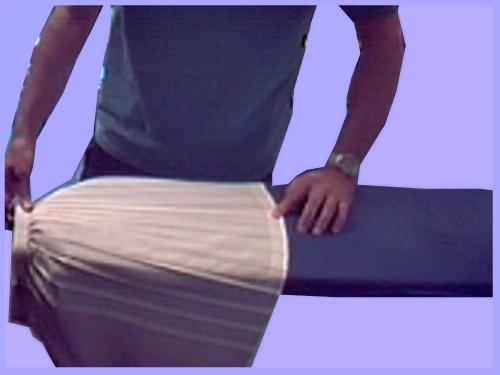
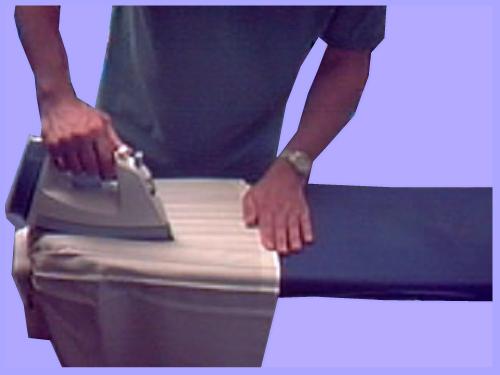
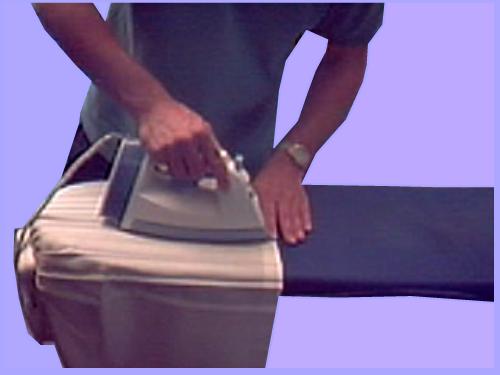
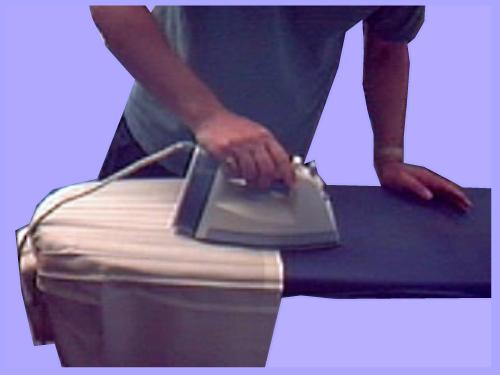
Undo any zip and lay the waistband on the board flattening it as much as possible and seeing how you think it will move when you put an iron on it. Cover it with a lint free cloth and spray with water before ironing while using your other hand to smooth the waist band.
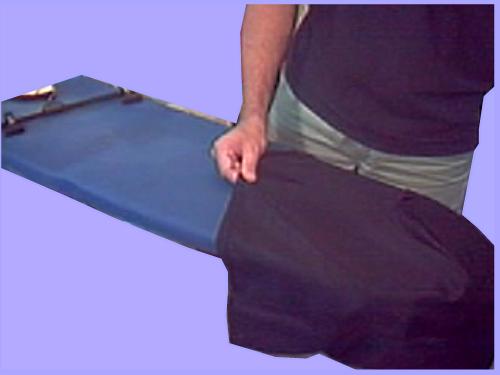
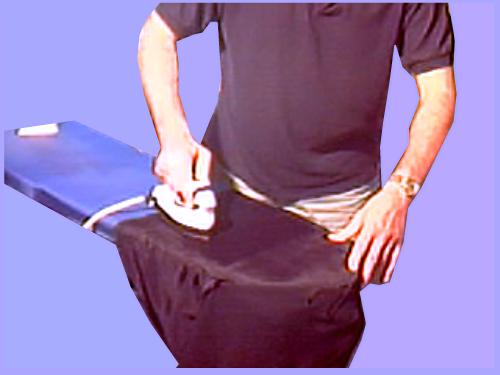
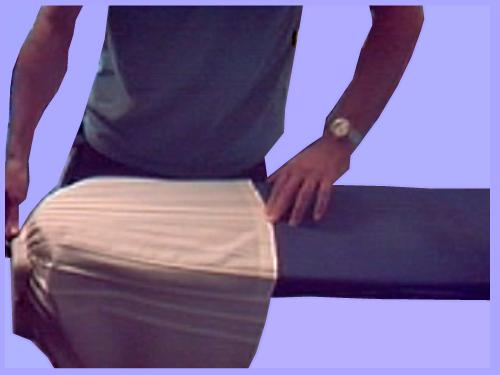
Turn the skirt round and put the main body on the board with the zip along the edge. Smooth the skirt down making sure there are no wrinkles underneath from the lining.
If you feel wrinkles one way of getting rid of them may be to pull the lining straight from underneath.
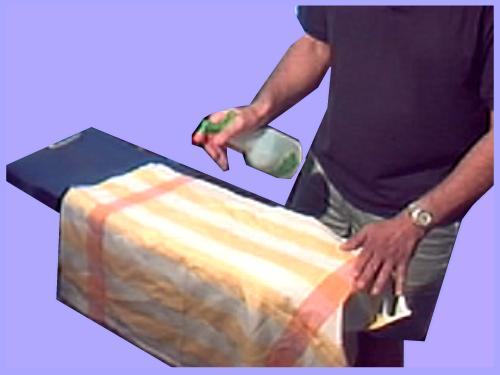
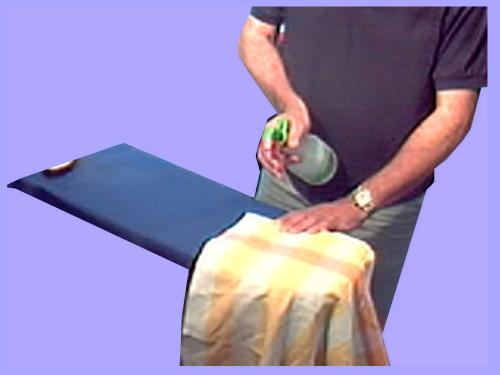
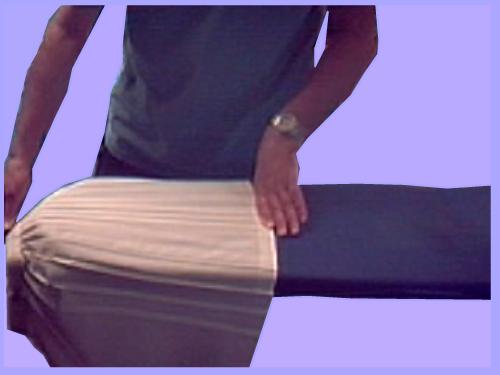
Cover the skirt with a lint free cloth and spray so it's quite damp. Iron lightly all over the skirt. The aim is to steam the skirt while keeping it firmly in position. Keep the skirt in that position until you feel that the steam has dissipatred and the skirt has dried off.
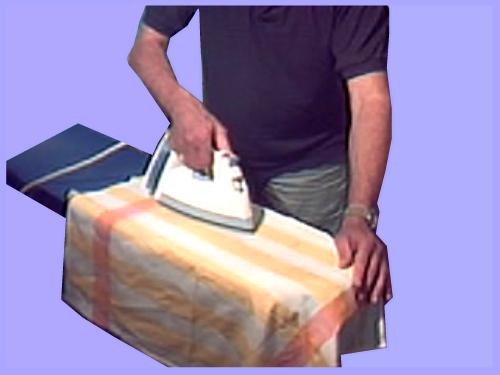
Keep turning the skirt around the board smoothing it out then placing and wetting the cloth before ironing. When you get back to the zip you've finished.
Pleats come in various kinds and on a number of fabrics. Permanently pleated skirts will be heat set using a good proportion of a thermoplastic fibre such as polyester, which makes them dangerous to iron.
Wool or viscose skirts might shine badly when ironed and it may be best to cover the fabric with a damp cloth. Whatever your case follow the basic instructions below and adjust your technique to take into account the special requirements of your particular skirt.
Start any pleated skirt by placing it on the board with your ironing hand on the waist band and the other hand looking to control the pleats at the bottom of the skirt. If you only have a few pleats around the skirt then complete the flat areas first then come back to the pleats, but do them in the same way as if you had lot of pleats.
Hold one pleat in place at the bottom of the skirt, making sure that all material at the bottom is square and that the flap is facing you. Pull the waist band to make the whole pleat straight. Once you're happy hold the next closest pleat in place and straighten it too. Keep holding the pleats at the bottom or place a pin in the first one holding it exactly in place and pinning it to the board to hold it.
Move along the skirt adding to the pleats you're holding, tugging at the waistband and smoothing out the pleats with your ironing hand.
Keep adding pleats until the ones you're holding are wider than the iron. Here we're holding 5 pleats in place.
Put the iron on so that its nose is just to the right of the first pleat you held in. Do not overlap any pleats you aren't holding in as this will iron them out and it will be more difficult to get them back in. Guide the iron straight down the skirt towards your fingers.
DO NOT MOVE THE IRON SIDEWAYS.
Remove your hand just before the iron gets there.
Continue ironing until all of the iron has passed the end of the skirt.
Grab the pleat closest to you next to the last one you've already done and move the skirt so this is in the place of the first one you held in place. Begin putting pleats in place as you did before and finish when you get back to the beginning, or when you run out of pleats.
Ridges can appear because you're going over three layers of material at one time, especially with thicker or sheer fabrics. If this happens consider ironing the skirt inside out.
Materials likely to shine can also be done inside out but consider pinning the pleats in place and using a damp cloth. When ironing on the wrong side it's much more difficult to feel any errors as you can't see them and ironed in errors are more difficult to remove.
Do Not Iron until you're absolutely certain the fabric is flat and will remain flat while you iron. Use your free hand to practice ironing and feel if any problems occur underneath your hand.
Office:
Pool House
34 Ivinghoe Road
WD23 4SW
|
|
|||